Unlock the secrets to germinating tomato seeds effectively with targeted strategies for indoor growing, moisture management, and seed variety selection.
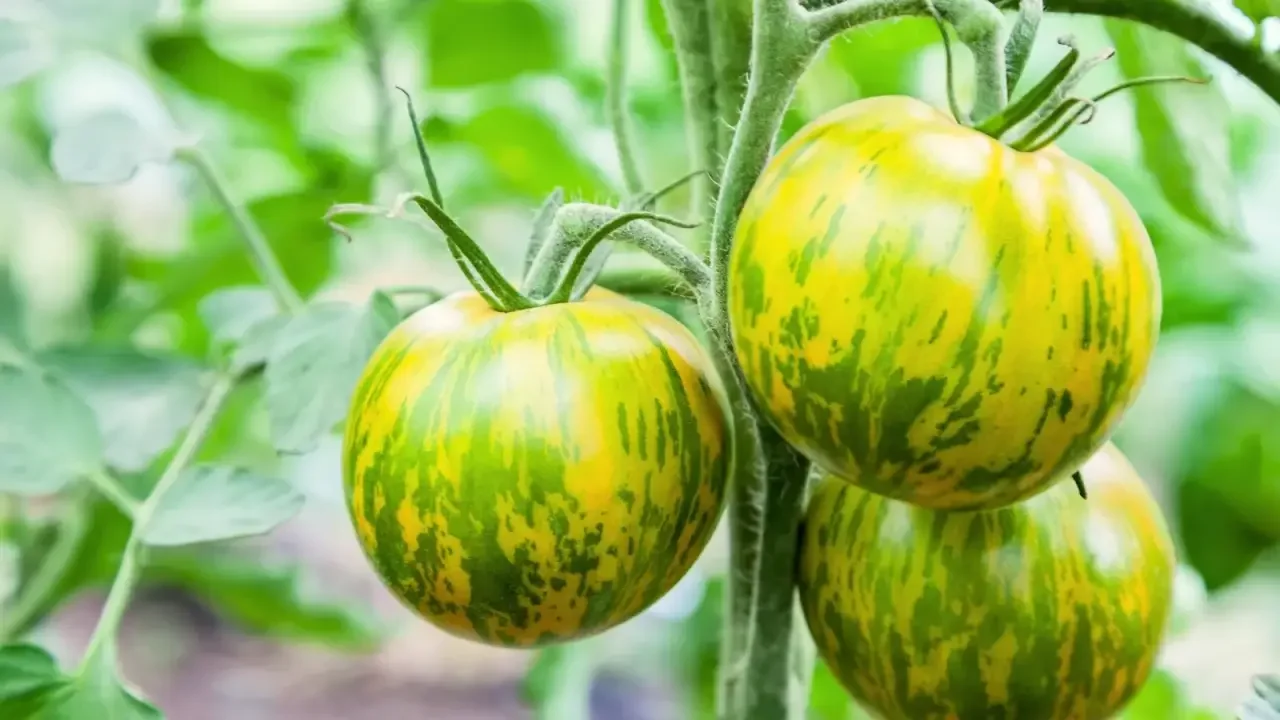
Tomatoes invigorate late spring and summer markets, attracting farmers and shoppers alike. The thrill of seeing vibrant heirlooms in varying hues is unparalleled. For growers in most of North America, initiating tomato seeds indoors is essential, given the long winters that inhibit direct sowing typical in milder regions.
Starting seeds indoors typically commences four to six weeks before the last frost, with outdoor sowing following one to two weeks post-frost. This guide focuses primarily on indoor seed starting while offering insights applicable to both indoor and outdoor planting.
Selecting the Ideal Tomato Variety
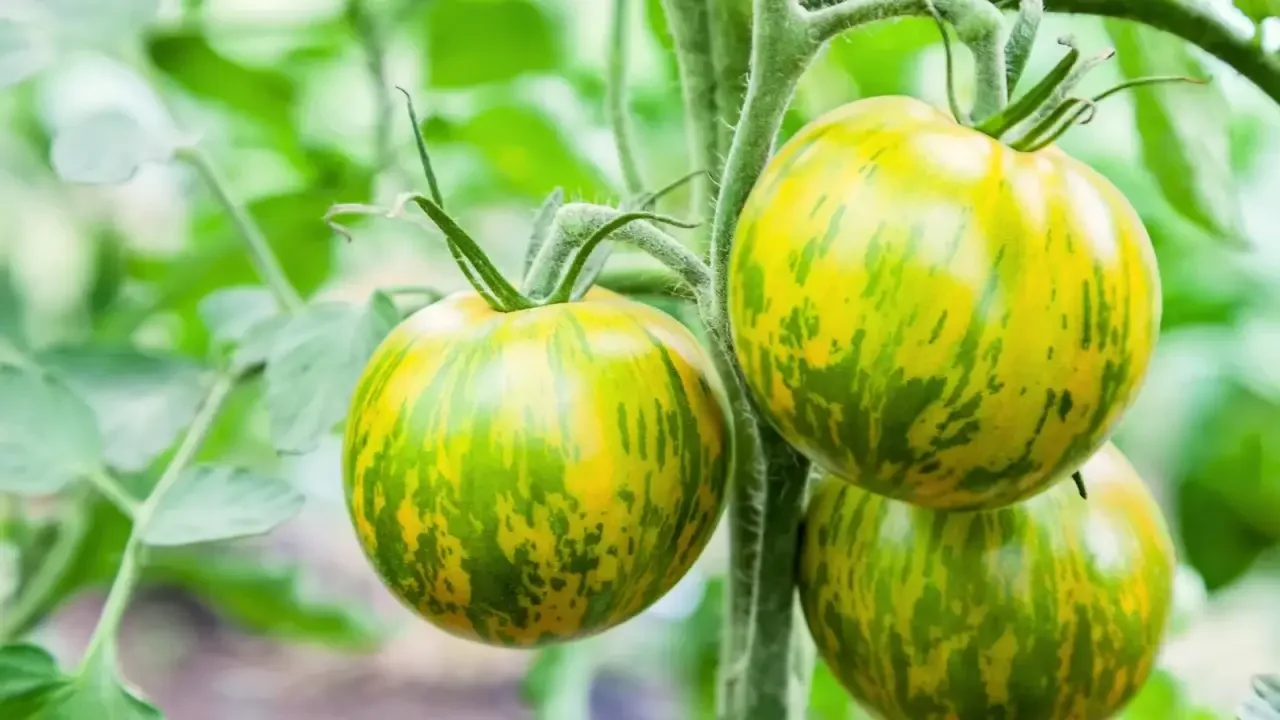
Understanding the distinction between indeterminate and determinate tomatoes is crucial for a successful crop. Determinate varieties are advantageous in regions with shorter growing seasons, as they yield a concentrated harvest and generally do not exceed a certain height. These varieties often need minimal support and mature early compared to their indeterminate counterparts.
Indeterminate tomatoes, favoring longer growing seasons, provide continuous harvests throughout the season but require careful tending and support due to their sprawling nature. If you’re considering which types to grow, think about your culinary preferences: Do you need large beefsteaks for sandwiches, saucing tomatoes, or perhaps unique heirloom varieties like Yellow Pear or Green Zebra? Take the time to identify which options best align with your farming approach and market needs.
Enhancing Your Indoor Seed Starting Environment
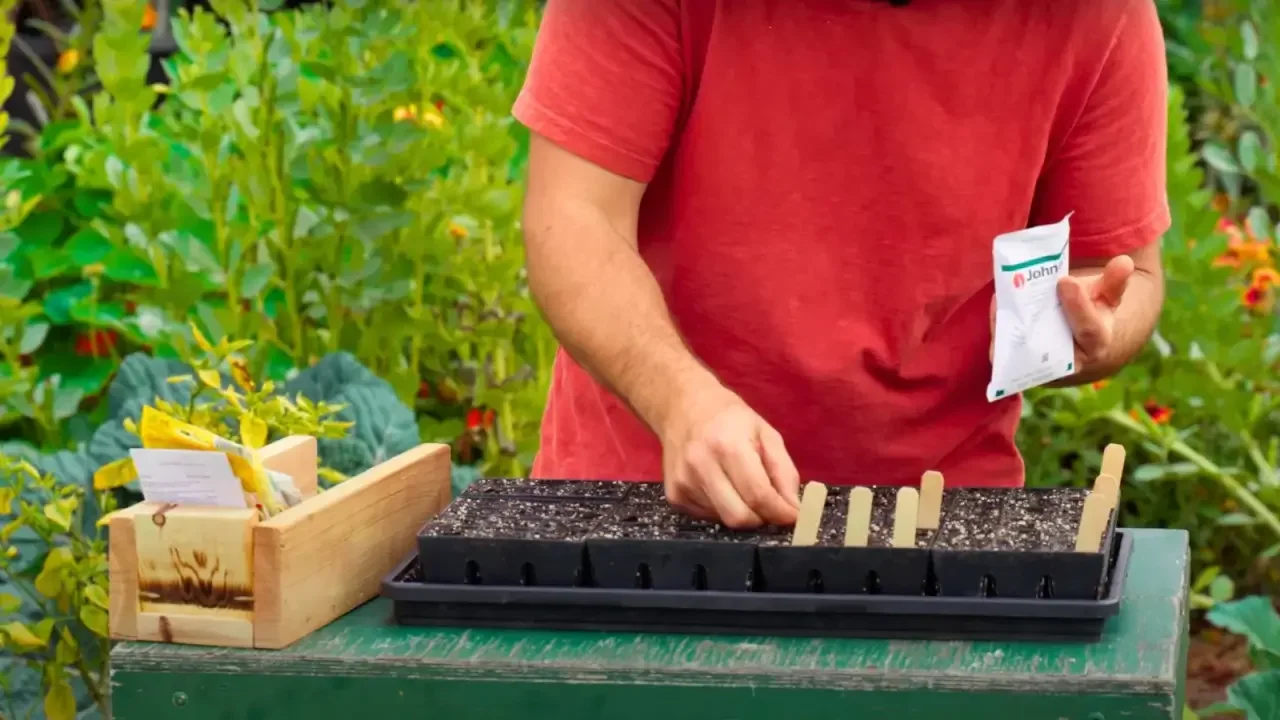
If you've had success with solo cups for starting seeds, you're on the right track. However, minor upgrades can significantly enhance seed germination and simplify the transplanting process. Opt for seed cells that feature drainage and air-pruning capabilities, which allow roots to grow more vigorously. Look for reusable options to minimize waste.
Ensure each batch of seedlings benefits from grow lights that cater to their developmental phases. A light that offers the appropriate wavelength for vegetative growth, flowering, and fruiting establishes a strong foundation for your plants.
Creating Optimal Heat Conditions
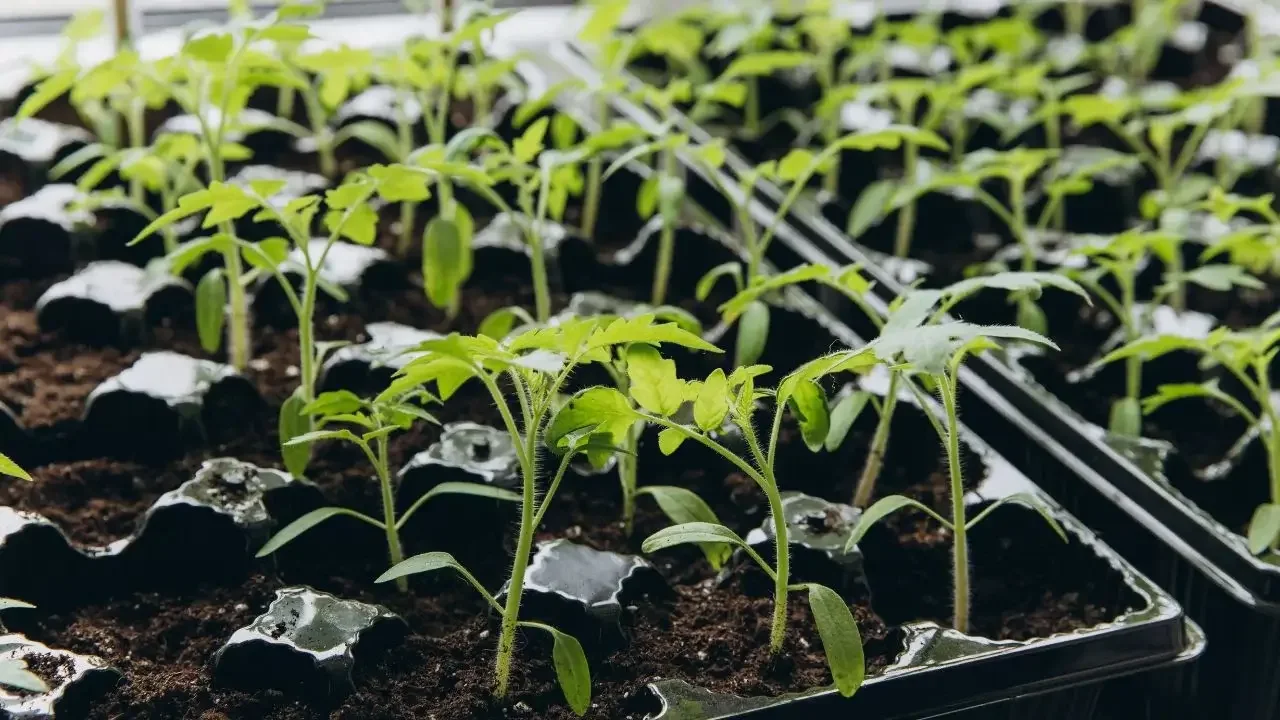
Introducing a heat source can be a game-changer for your seed starting operation. Maintaining warm soil, ideally between 65 and 85°F (18 to 29°C), is pivotal for optimal germination rates. Heat mats are highly effective in simulating the warm, humid conditions that tomatoes thrive in, closely mimicking their native South American climate.
While seeds might germinate without added heat, doing so will yield a lower germination success. If acquiring a heat mat might be a challenge, a chicken heater can provide ambient warmth without drying out your seedlings.
Maintaining Moisture Levels
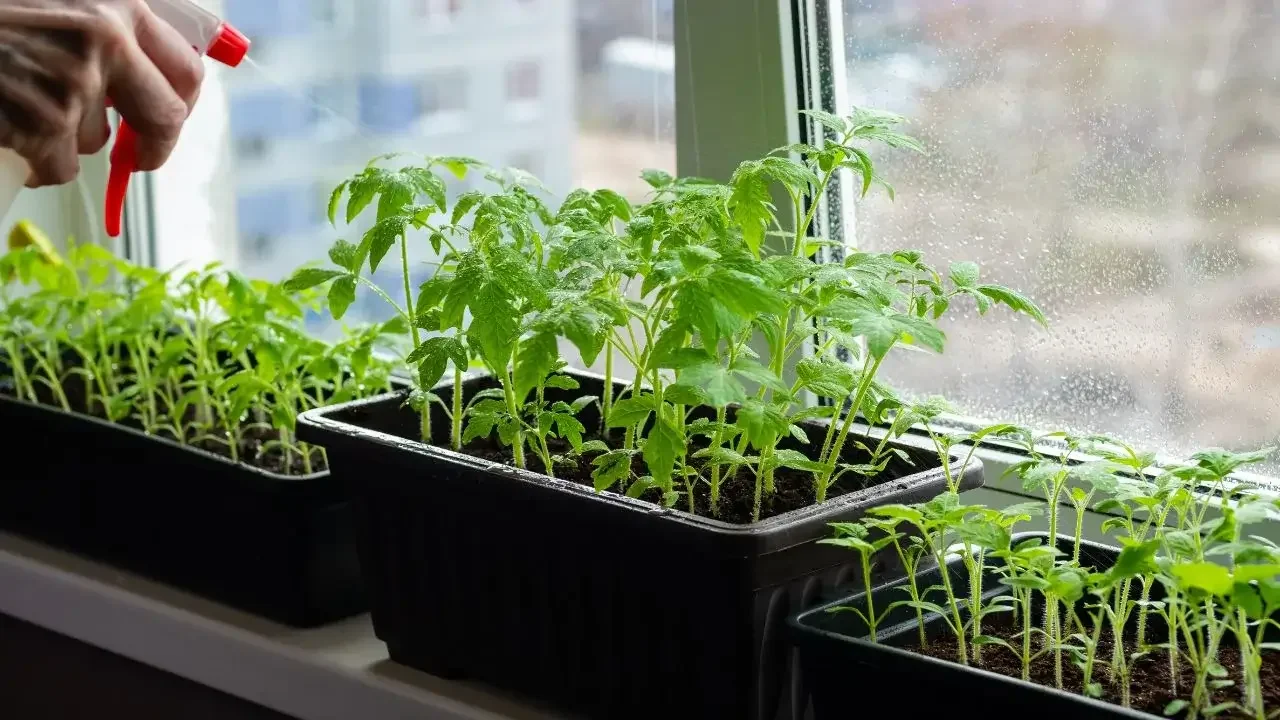
Tomatoes naturally thrive in warm, humid conditions. Therefore, ensuring that the soil remains adequately moist (but not soggy) after seeds germinate is key. These plants have a high water demand as they mature, so retaining moisture—especially in drier environments—is critical. Incorporating materials like worm castings, peat, or coco coir into your seed starting mix supports water retention, but be sure to balance them with drainage-enhancing materials like perlite or agricultural grit.
Transplanting Seedlings
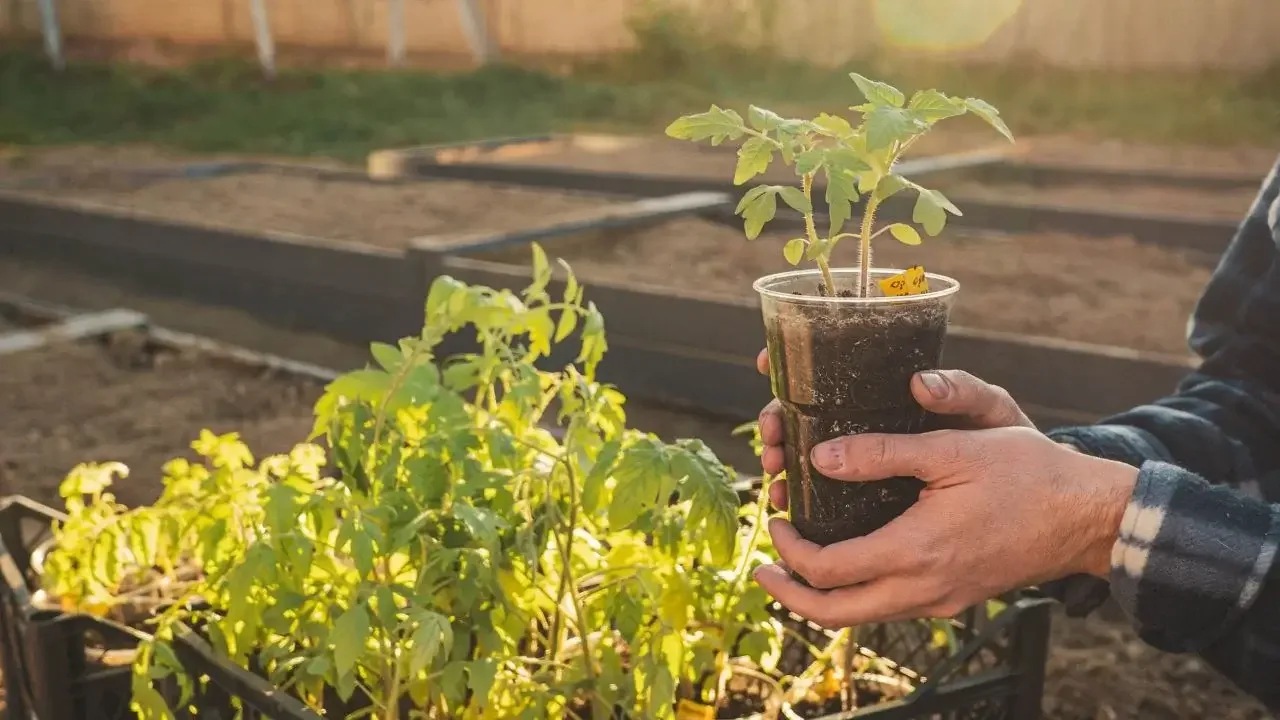
As your tomato plants grow, they might quickly outgrow their initial cells. Once they develop their first true leaves and are a few inches tall, it’s crucial to up-pot them. If you’ve sown multiple seeds per cell, gently untangle and transplant them into individual containers to maximize your harvest potential without sacrificing plant health.
At this stage, avoid using tomato-specific fertilizers to prevent premature flowering. Instead, opt for a diluted organic all-purpose fertilizer to support ongoing growth. Apply it during your next watering to give your seedlings the nutrients they need without compromising their development.
Success in growing tomatoes from seeds requires some thoughtful strategies, but with the right approach, you can cultivate a vibrant crop ready to wow your customers and elevate your market presence.

Discussion
Sign in to join the discussion.